Friday, October 6, 2017

Grateful

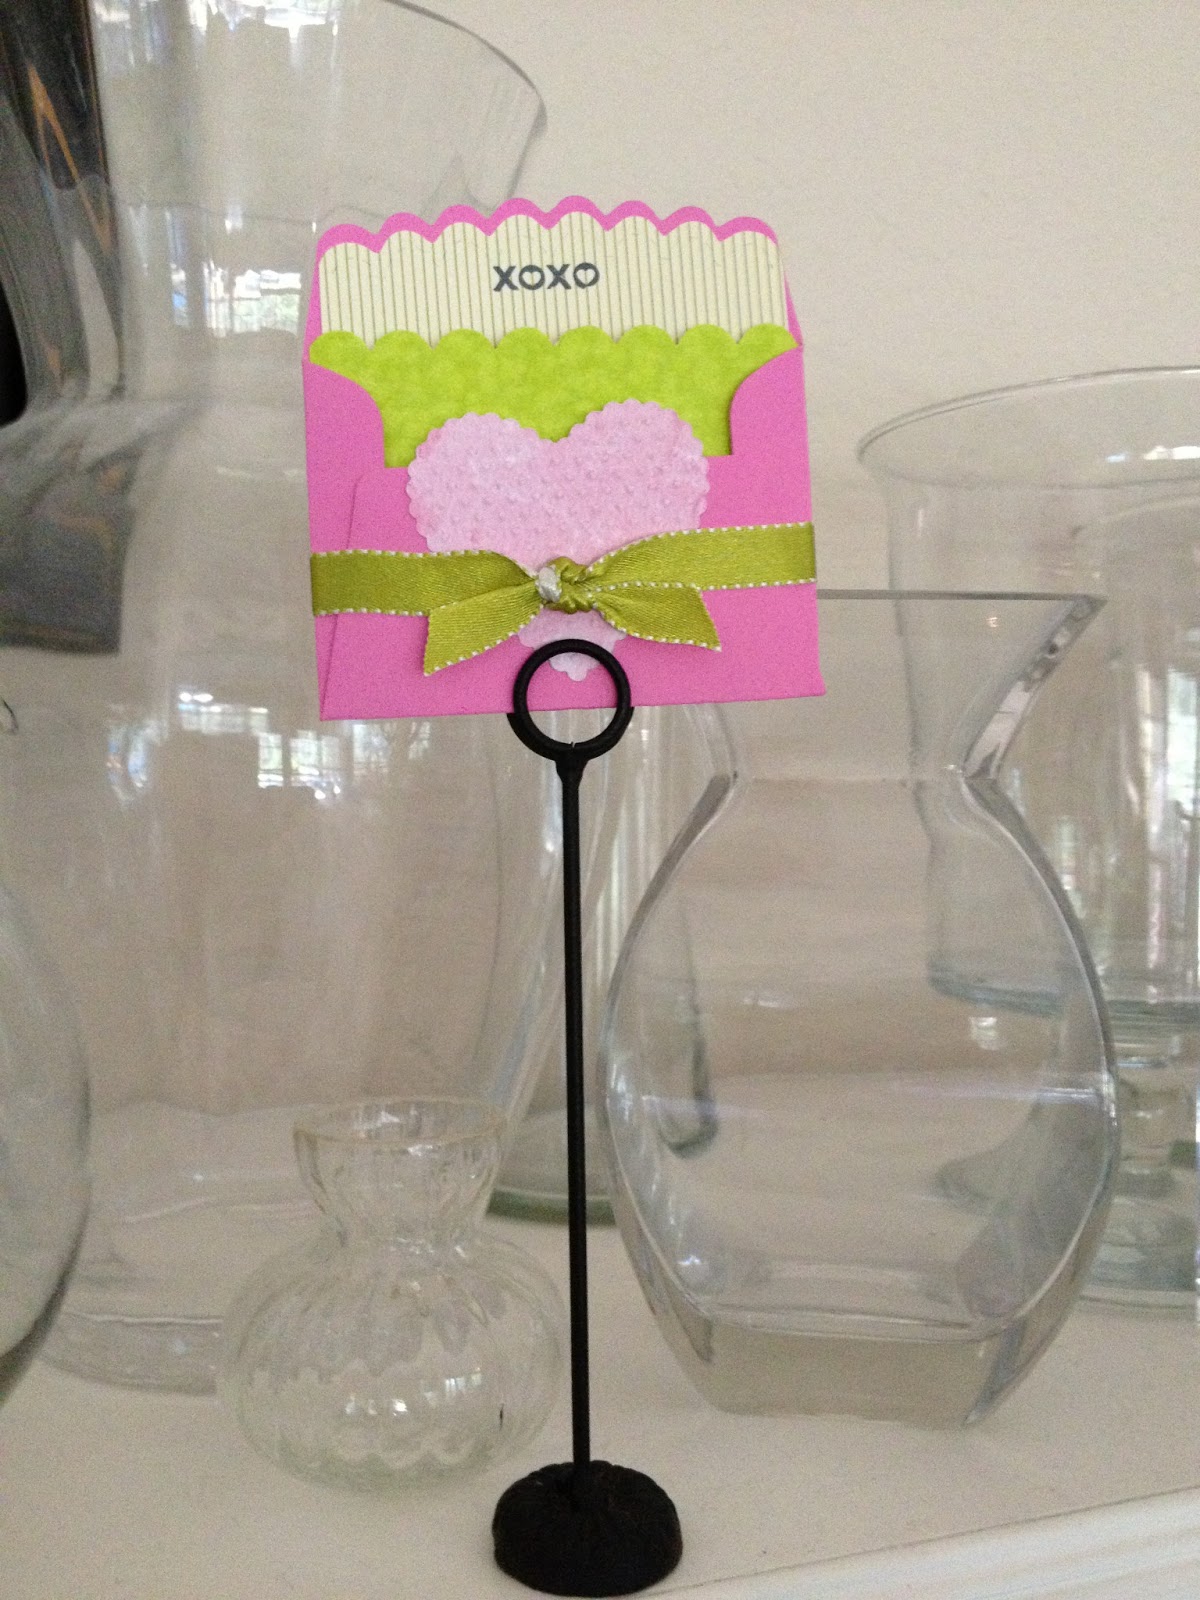
Hello, friends! My card making supplies are collecting dust and in need of a revival. In the meantime, I've been going through stashes of cards I made a long time ago and getting down to the less pretty ones. Desperate times call for desperate measures and I recently sent this simple and imperfect card to my son, a missionary in Thailand. I miss my card making heyday -- and my son, and hope to get back to being the card camp queen some day in the future.
Speaking of Thailand, I baked a pumpkin pie last week and covered it with pie dough cut outs shaped like elephants on parade.  
What's keeping me preoccupied these days instead of paper crafts is my new website, Kelly's Kitchen Creation, writing, cooking and of course, my family.


Friday, November 4, 2016

We have a grandson!

It seems fitting that I follow up on my little hobby blog from the post from last year, with wedding pictures from our oldest child and her husband's big event, with the newest addition to our family.

We are the proud grandparents to a darling and sweet little boy named Joseph who was born in April and we love him to pieces.  I haven't done a lot of card making, and this is my excuse du jour.  :)

Tuesday, January 27, 2015

My daughter got married!

Not only did my first child get home from her mission (she was in Hong Kong and Macau, representing The Church of Jesus Christ of Latter-day Saints for almost 19 months away from me) and returned home on Good Friday, April 18, 2014, but like many returned Mormon missionaries, she went and found herself a husband and got married!  Ha ha.  We are very happy for them, and as you can imagine, my life has been sort of hectic with parties and celebrations, and life.  So, I just want to check into my little blog and say hi and that I'm alive!  Phew!  Another blessing.
She got married in December after finishing a semester back at college at Brigham Young University, and went on a winter honeymoon, then we had a wedding reception for the newlyweds in Texas that was all about lemon yellow and cobalt blue.  Every time I see something in these colors to this day, I can't NOT think about the wedding. (That's a double negative, which means a positive! I'll never look at those colors the same.  I was reading a Berenstain Bears book to my son today, and noticed the pa and little bear wore yellow and blue.  See what I mean?)
We had a buffet dinner with heavy hors d'oeurves and I made desserts, which was fun for me, since I'm a baking enthusiast and always enjoy sharing treats with my friends and family.  This past year, I have been on a monster cookie roll, normally putting six M&M's on each one, in coordinated colors.  For the reception, I made these baby monster cookies, half the size of the usual, and so cute and yummy.  I also made mini pecan pie tarts, and of course we had wedding cake, made by a pro.
The night before the reception, I made a record breaking (for me) amount of heart shaped sugar cookies, just under 200 in about two hours.  I was seriously in the zone!  I rolled, cut, baked, timed, removed from the oven, every eight minutes, with both ovens, and used up every baking sheet I owned.  It was intense!  I wanted them to be fresh, and they certainly were.  I frosted the cookies with yellow royal icing and they turned out pretty well.
Their wedding announcements were from Wedding Paper Divas and were absolutely beautiful, a very thick, heavy paper, in a tri-fold design, with print on both sides, which came in handy for all the details for the various locations of the actual wedding and two receptions.
So, as you can see, they lived happily ever after.  Well, at least a month or so into their ever-after!  I have indeed made various cards since my one and only post of 2014, but have not blogged the excitement.  Maybe sometime this year?  Who knows.  Stay tuned.  I still am wild about my little hobby, even though it may not seem like it. Until then, thank you for reading!

Sunday, January 12, 2014

Hello, Lovely

When I have been in a creating or stamping slump, the best thing to do is to CASE another card, or to Copy And Share Everything.
This card was inspired by Stamp with Heather, and I love the simplicity and color combination.  I've used Stampin' Up Basic Gray and Crushed Curry cardstock, tag-a-bag gift tags, the Hello, Lovely stamp set, which includes the cheery sentiment, "you make me happy," stamped in Crushed Curry ink. A tool used was the Big Shot for embossing the Honeycomb textured impressions folder, and stunning Basic Gray two-tone 1-1/4" wide ribbon, that I wish were never-ending, accented the card.  I just used more of that gorgeous ribbon to wrap a gift that will go with the card.  I'm a sucker for beautiful ribbon.  The mini clothespin and baker's twine were also part of the tag-a-bag bundle.  Looking for my stamping mojo!

Thursday, January 9, 2014

Love notes and 2013 Christmas card

Hi, everyone!  We managed to get a family photo taken with five out of six of us, and I asked my daughter living in Hong Kong to email a picture, then I ordered Christmas cards that got here about ten days before December 25.  I got most of the cards sent out on time, using my usual system of sending one to the person who sends us a card, which isn't the best method, but it seems to work well enough.  A few cards arrived after my initial mailing, and I got side-tracked with the kids home from school, etc., and finally decided that I should at least send a mini love note with the remaining cards that I send this week since Valentine's Day is only a month away.
I dug though my card stash and found one that I made years ago, and created something similar, even using some mulberry paper from years ago before all the textured cardstocks were the rage.  It's a bit old-fashioned, but it was fun to whip up a little something for the last few Christmas cards I had to send out.  Also, I tried to make it not clash with the colors of our annual card.  This was the first year that I didn't include some kind of letter with an update of our year.  With Facebook and Instagram, texting and more, I feel like the majority of my loved ones have a clue what's been happening.  Plus I just didn't really feel like writing one!  Here's the front of our family card.  The inside has individual pictures, including one from our missionary daughter.
 We are all going to be together next Christmas, so we can have all six of us in the family photo.
This is the card that I unearthed from my past stamping efforts, then recreated.  I used real red cardstock and gingham ribbon in red and also in black, and I ended up using the "love you" sentiment from Stampin' Up! A Light Heart, and the main image is an oldie but goody called Festive Four and the love you sentiment is from Sweet Talk.  I haven't used it in ages until today.
Happy new year!

Wednesday, June 5, 2013

Baby girl mini gift card

This quick and simple card features the Big Shot, using the Bigz Scallop Envelope Embosslits Scalloped Heart of Hearts, and the small heart punch. The "hello little baby {welcome home!}" sentiment is from the Stampin' Up! Sweet Little Sentiments wood set.
 I like how you can essentially use scrap pieces of paper and ribbon to make this handy little creation.

Wednesday, February 8, 2012

Eight months of neglect, seriously?

I admit that I've been tremendously preoccupied lately, but didn't realize how LONG I've been ignoring and neglecting this blog.  I have a really good excuse though!  At a rather advanced maternal age, I got PREGNANT in July and am expecting a baby, for the first time, next month, and I'm so excited.  Let me clarify, my husband and I have three children, all whom were adopted, but this will be my first time to experience giving birth and I'm grateful for this miracle, which is a very nice 25th anniversary gift to us. In the meantime, I'd like to share some pictures of my most recent family Christmas card design.


I love the red and white baker's twine, which I bought at Crate & Barrel.  Here are more details:
  • Stamps: Pennant Parade, Teeny Tiny Wishes
  • Ink: Real Red, Green Galore
  • Punches: Petite Pennants, 1/8 inch handheld circle punch, handheld rectangle punch
  • Cardstock: Whisper White, Green Galore, Real Red, Patterns Pack II Designer Series Prints
The family photo card that we inserted inside the card was created by Tiny Prints and featured our newly adopted 8 year old daughter, whom we brought home from Taiwan--the best souvenir ever!   So we've basically doubled our family size in the last year, and went from two kids, 20 and 14, to FOUR kids (almost).  The baby will be here by March 23 and I hope to continue card creating and blogging.  Happy new year and happy Valentine's Day!

Thursday, June 2, 2011

A Flower for All Seasons

Here are some cards I designed and created using my stamp set, A Flower for All Seasons.

 Thanks, Julie for the cute card below!
Thanks for visiting my blog!

Thursday, April 14, 2011

Clearly for You

How fun this new Clearly for You stamp set is!  I really enjoy designing 3x3 cards because they are so simple and compact.  I'm elated that my new stash of stamps and supplies arrived from the United States and I can create some cards and share with others.
  • Stamps: Clearly for You
  • Ink: Basic Black, Baja Breeze
  • Cardstock: Real Red, Basic Black, Whisper White
  • Accessories: crochet thread, black gingham ribbon, mini library clip, brad
  • Tools/Techniques: Small Heart punch, Word Window punch, 1/16" handheld circle punch, Crop-o-Dile Corner Chomper (1/2 inch), sewing machine stitching, sponging

Wednesday, April 6, 2011

Crushed curry crush

Since Crushed Curry cardstock has been on clearance at Stampin' Up!, I have been having a heyday with it.  My Chinese New Year cards were crafted using this lovely golden yellow paper, and this week, I've been crushing on curry by cranking out about 50 invitations for an upcoming Relief Society event where we will make three-tiered ruffled skirt aprons.  So fun!  The fabric swatches are above, the black polka dots, black floral, and crushed curry print are what inspired the design for these invitations.  I used the Elizabeth stamp for the image, then hand wrote Relief Society in the centers.

When I ended up with two extra pieces of crushed curry, I whipped up a quick Mother's Day card and an Easter card and can't seem to get enough of the color combination.  And since I live in Taiwan, I have to make the majority of the invitations in Mandarin, so here are the foreign texts.  Sadly, I am not talented enough to read these Chinese characters, but fortunately for me, I'm surrounded by wonderful, smart Taiwanese friends who can translate for me. Hopefully I will add more posts before Mother's Day and Easter.  The Happy Mother's Day and Easter Wishes sentiments are from Stampin' Up's Something to Celebrate set.  And in case you are curious, the little heart stamp is from Stampin' Up's Filled with Love set and the darling square medallion image is from Stampin' Up's Cute by the Inch set. 

Saturday, February 19, 2011

Bingo game cards

Backtracking a bit, I want to show you these Bingo cards I made when I went home for the holidays. I made sets of cards for various family members and hope that they'll enjoy their Bingo cards every year on Christmas Eve in the future, as it has been a tradition in my husband's family for years.
By adding the sewing machine stitching around each border, it not only permanently adhered all the layers together, it now eliminates worry about anything coming apart the way paper crafts sometimes tend to do, plus this dainty threaded accent also creates a tailored keepsake edge. I really like the colorful cheer of all the pieces together too.
I almost forgot about making the game pieces, but they were easy to whip up. I used Stamin' Up's Bingo Background stamp along with the Jolly Bingo Bits set. White cardstock was the best choice for stamping the Bingo image, as I had less of a clean, bold look when using confetti white or confetti cream. Very vanilla would be my second best preference.

Friday, February 18, 2011

Chinese New Year card

In case you haven't noticed, this is my first post in months! We moved to Taiwan in August from Texas, for a year. I didn't know how much space I would have, so I didn't pack my stamping supplies and I missed everything desperately!
When I went back to the States over the Christmas break, I loaded up my luggage with rubber stamps, punches, cardstock, inks, pens, scissors, adhesives, you name it. My cousin helped me unload my junk from her trunk when she dropped me off at the airport in San Francisco and I was embarrassed at how heavy all my bags were! I maxed out on the luggage weight limit and carried back as much as I could. I snatched up this darling lantern rubber stamp in Taiwan, which was made in China.  I found a fun way to make your own paper lantern card on this blog.
Now I can create once again! Thank you, Eva Airways!
I made these wonderful Chinese New Year cards and hope to post more fun cards over the next several months while I'm living on this tropical Asian island. Enjoy!

Sunday, July 11, 2010

My daughter's high school graduation

Congratulations to Lindsey! This post is a sampling of the graduation party I hosted for my lovely daughter, designed in her school colors of burnt orange,white, and black. I've always wanted to order custom M&Ms and this was just the reason (or excuse) I was looking for.
The little tins were darling in and of themselves, but slightly boring for my preferences, so I had to add a bit of ribbon, a couple of coordinating cardstock colors, cut with two just-right punches.
All those extra details just seem to make something good, even better.
We chose a line from "Wicked," to accent the party favors, "Because I knew you, I have been changed for the better."
I've also always wanted to try making one of these lovely banners and give complete credit to Kelly for her excellent tutorial. I'm a huge fan of her card making style and overall creativity--she is my muse! It was in the middle of the night when I spotted the step by step instructions on her blog, and all I had was Halloween cardstock in my daughter's school colors, and I was bound and determined to make a banner right then and there, so I went with it. Now I have a jazzy new banner to hang up in October as well.
Here's a closer shot of my banner. I seriously need either a new camera or photography lessons, or both, but you get the idea.
I'm extremely proud of my girl and will miss her when she heads out of state to attend college at BYU-Idaho in the fall.